Te Ao o Taonga Puoro - Worksheets
This page offers a number of worksheets that teachers can use to support the live presentation of Bob's schools programme 'Te Ao o Taonga Puoro'.
The Manu Cacophony
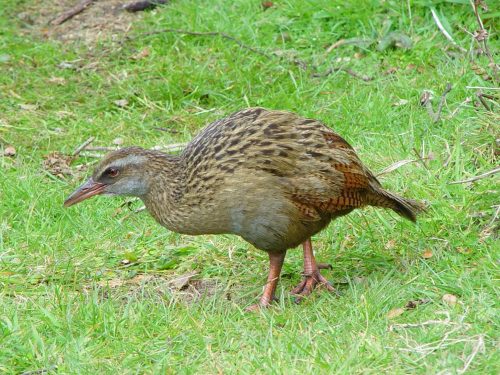
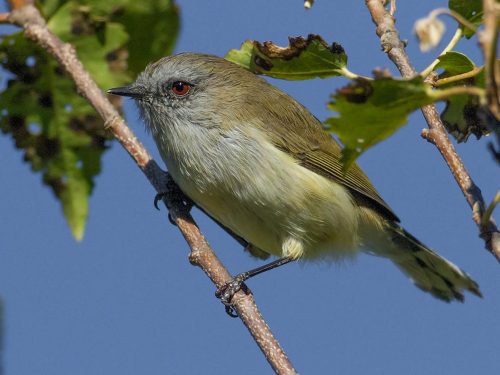
Here's a fun worksheet where you can explore the sounds of actual manu (birds) with the manu sounds made by Bob on his karanga manu.
Here's some game suggestions:
- Match the bird sounds to the photographs.
- Which sound is real and which is Bob?
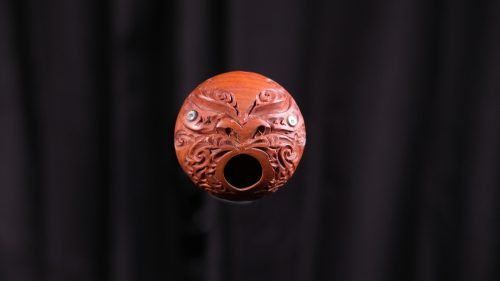
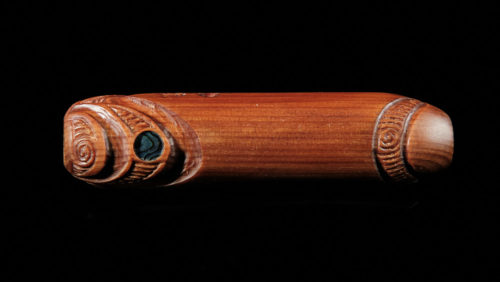
- Match the instrument photos to the sound and/or the bird photos.
Credits:
Department of Conservation for the manu sounds and New Zealand Birds Online for the bird photographs - copyright Graeme Taylor, Adam Clarke, Kevin B Agar, Peter Frost - restricted use of audio and bird photographs as specified here: https://nzbirdsonline.org.nz/copyright
Musical Match Making
In this worksheet students can match the name of the instrument to its sound, its photograph and its description. I've included a PDF of a set of cards that can be printed off, so the exercise can be done in class or could be generated from this online resource. Eight of the instruments used in the programme are used for this worksheet.
Download a PDF of printable cards by clicking on this link:
Make an Instrument
Here's how to make two of the instruments used in the programme.
Make a Kōauau
Detailed instructions are discussed in the video above and a list of materials and tools are noted below.
Here's an outline of the construction technique:
The easiest way to make a kōauau is to use a piece of bamboo. Find a piece which has an internal diameter of say 12mm to 15mm and select a length between the nodes. What you have at this point is a tube.
Saw the tube to around 120mm to 150mm long.
Next up clean out any paper or debris inside the tube with a round file or some sandpaper glued to a dowel.
Then you need to sand each end, working the outside edge so that it curves around to meet the inside edge. At this point the instrument should play.
Then you drill three holes, 3mm to 4mm in diameter, along the top surface aligned to the kunckles on your index finger. It's best then to countersink the holes to make them easier to feel.
Finally you can finish by sanding the outside smooth and perhaps coating it with a food-safe oil.
Materials and Tools:
- A length of bamboo
- A vice to secure the work
- Pencil for marking
- A hand saw
- Sandpaper
- Drill with bit
- Countersink bit
- Oil for finishing
Make a Porotiti
Detailed instructions are discussed in the video above and a list of materials and tools are noted below.
Here's an outline of the construction technique:
The easiest way to make a porotiti is to use a piece of plywood or MDF around 5mm thick. These instructions are to make a porotiti shaped like an elipse.
Mark a centre line on the vertical axis and then a perpendicular line at right angles to this line at the half-way point down the vertical axis. Mark two points equi-distant on the horizontal line which indicate the width of the porotiti.
Next draw the shape of the porotiti using the top/bottom and side marks as a guide.
Saw around this shape using a coping saw or bandsaw and tidy up the edges with sandpaper.
Next find the balance point on the vertical and horizonal axes by balancing on the edge of a rule and re-mark the axis lines if necessary.
Mark two drill points 5mm from the balance point (10mm apart) on the vertical axis. Drill with a 2mm bit and countersink.
Loop through a piece of line and tie off so that the looped length is a comfortable arms length apart.
Materials and Tools:
- A piece of 5mm MDF or plywood
- A vice to secure the work
- Pencil for marking
- A rule for marking and balancing
- A coping saw (or bandsaw)
- Sandpaper
- Drill with bit
- Countersink bit
- String
Watch a Video
Along with Brian Flintoff, Robin Slow, Ariana Tikao, Solomon Rahui and Holly Tikao-Weir, Bob has created music for several exhibitions of carvings by Brian and paintings by Robin. You may enjoy sharing these with your students. Simply click on a video below to view.